Link is copied
Data Exchange with evalink talos
You need to enable and configure Docker, Node-RED, and MQTT before you proceed with the steps below.
You need to enable and configure HTTP Forwarding to access services via evalink talos.
By using Node-RED and MQTT integrations within the TNA, you can set up real-time, bidirectional data flows to and from evalink talos, enabling data processing, delivery, and retrieval. Once you have enabled and configured the integrations, do the following:
-
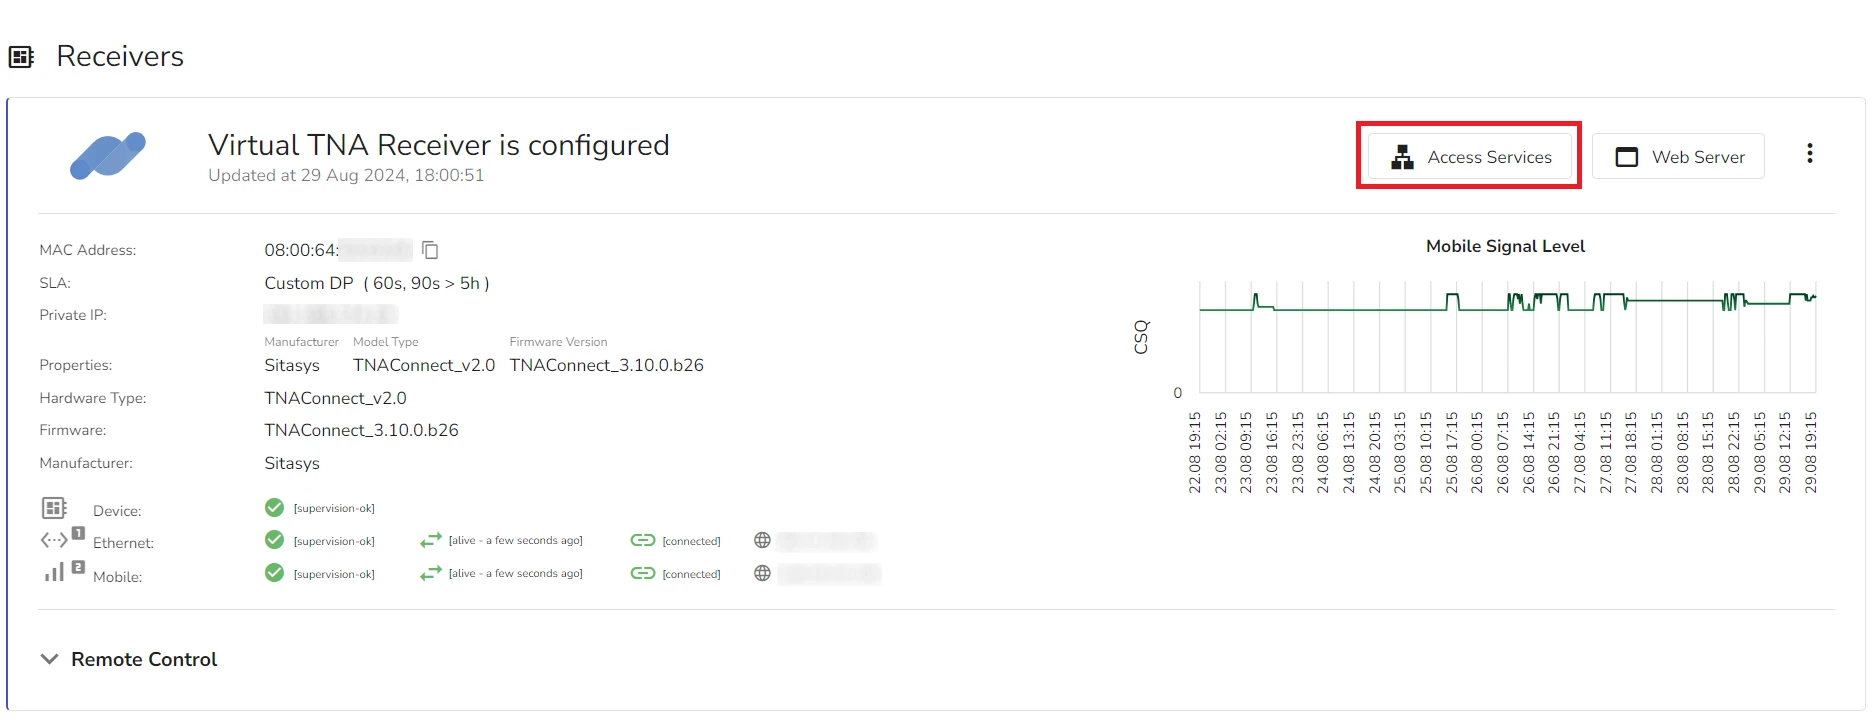
On your evalink talos account, go to Sites > [site] > Receivers > tab
-
Click on Access Services near Web Server at the top right corner of your TNA Virtual Receiver record
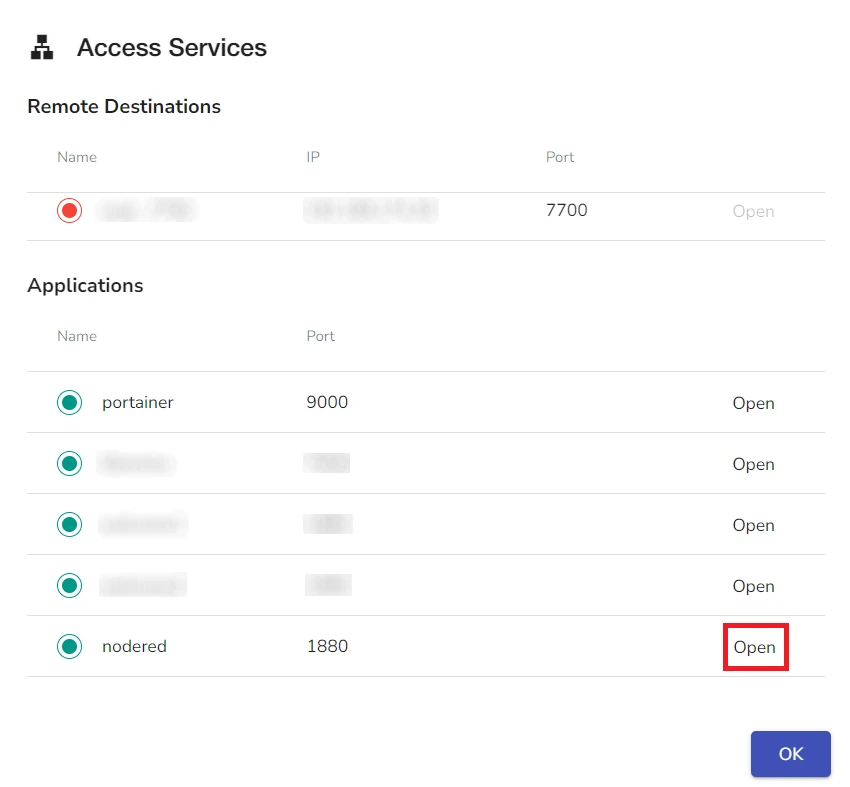
- Under Applications, click on Open next to nodered record
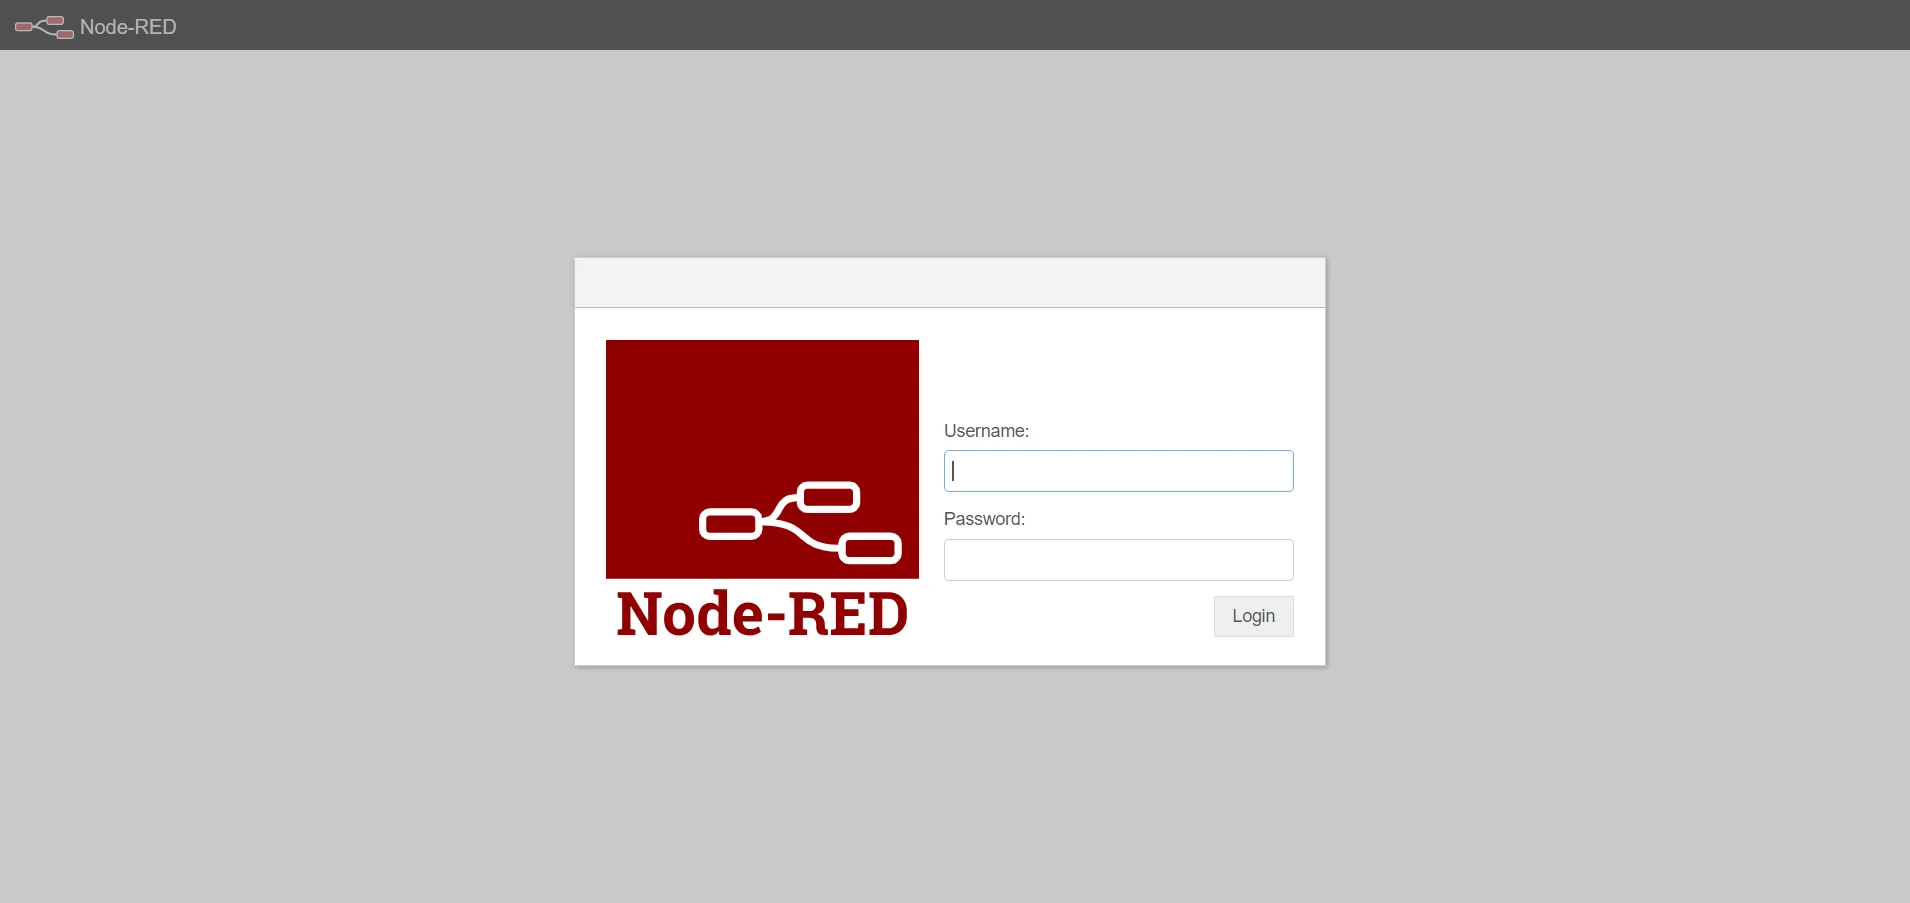
- On the Node-RED login page, enter evalink as the username and the configured password on the TNA Web Server
-
Click on Login
-
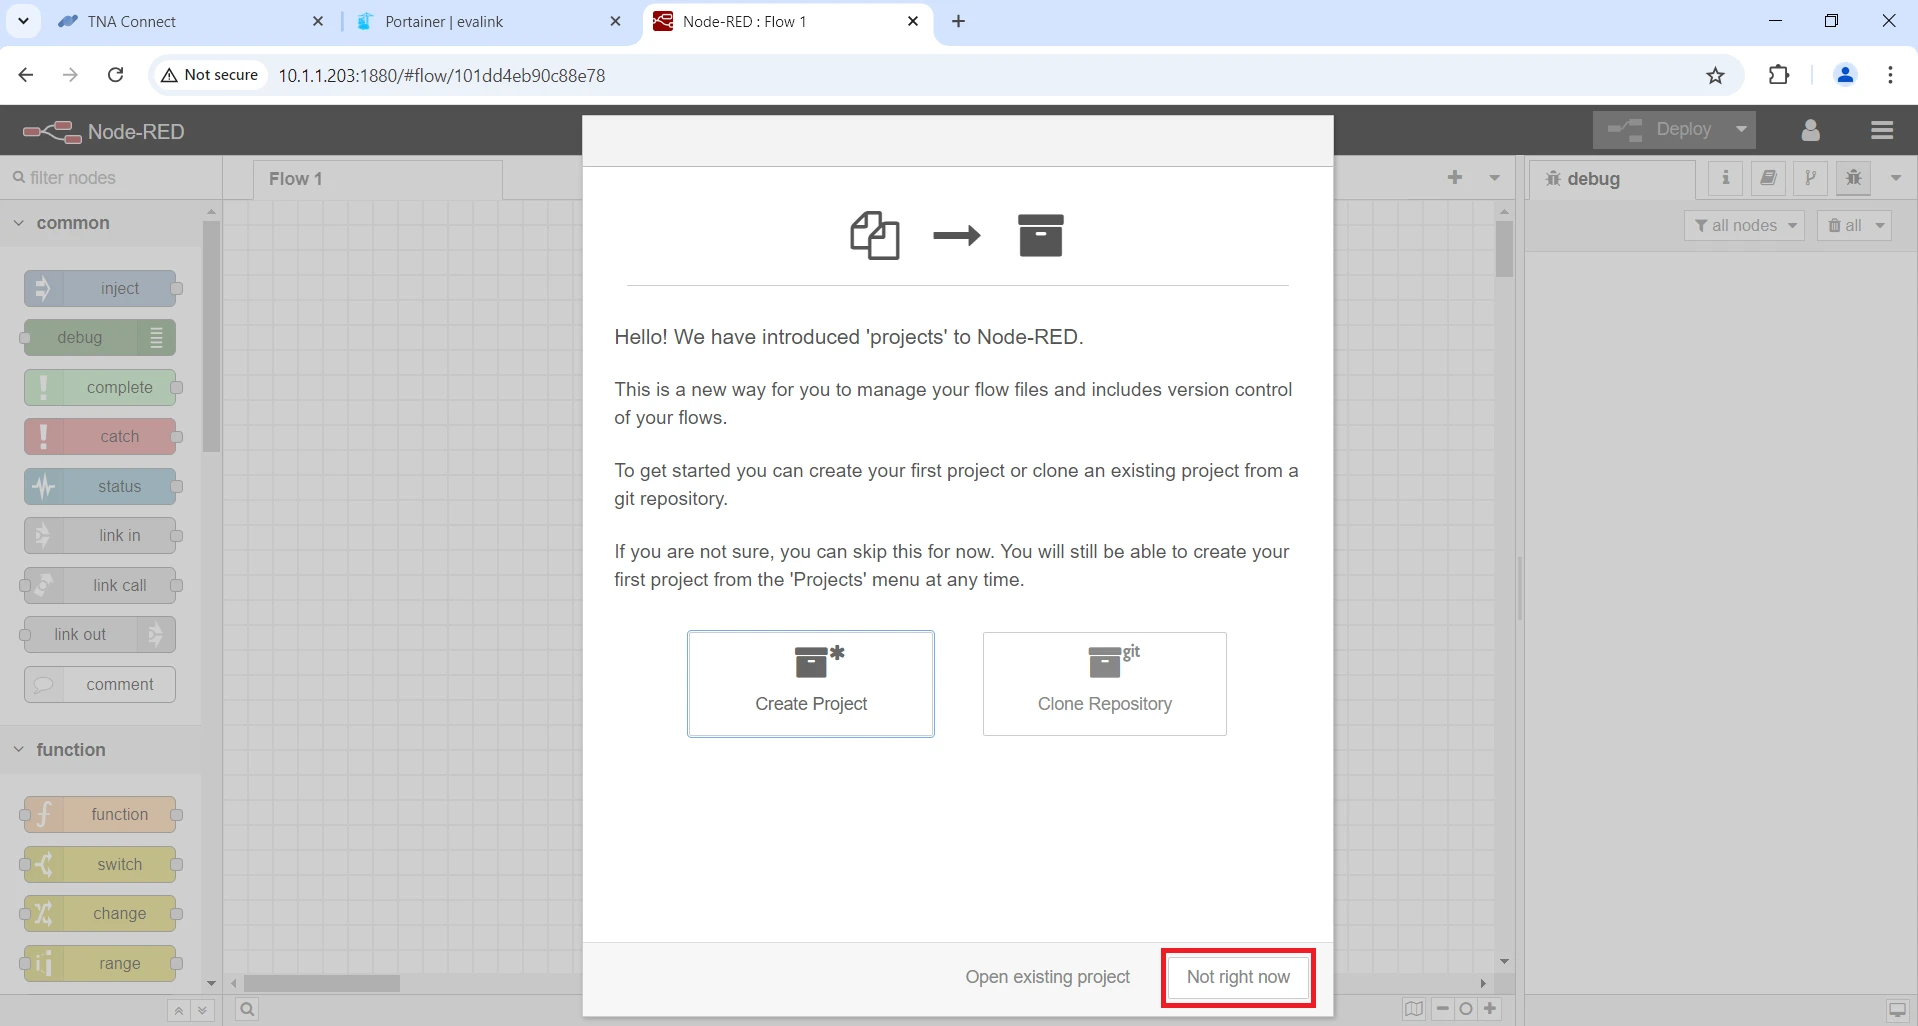
If you see the projects popup, click on Not right now to dismiss it
Configure MQTT Broker Connection
-
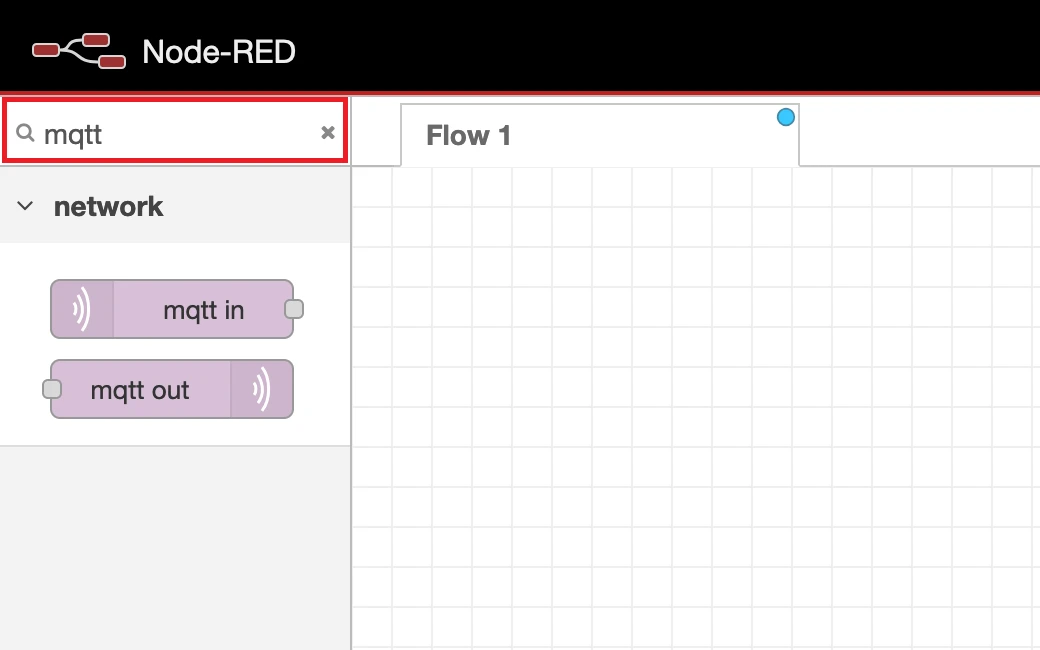
Type mqtt in the filter nodes from the upper left corner of the page, two nodes are available to select:
mqtt in: Connects to an MQTT broker and subscribes to messages from the specified topic. Drag and drop it in your flow to receive data from evalink talos.
mqtt out: Connects to an MQTT broker and publishes messages. Drag and drop it in your flow to send data to evalink talos.
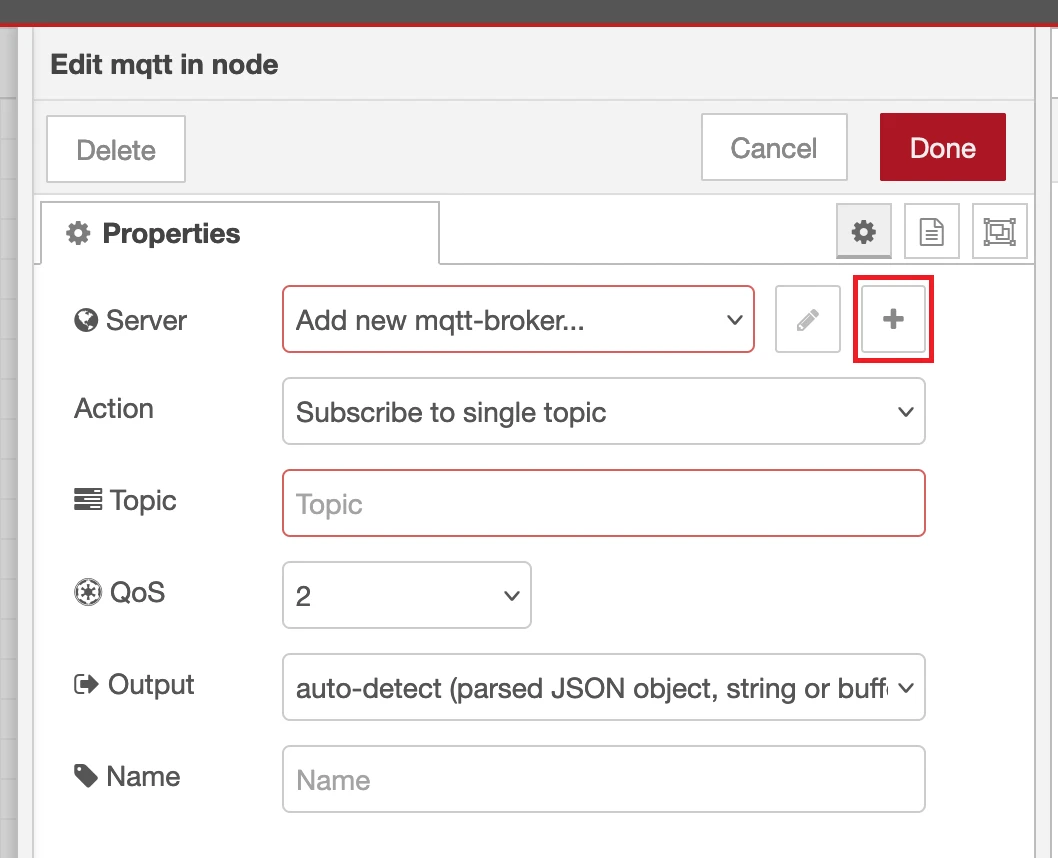
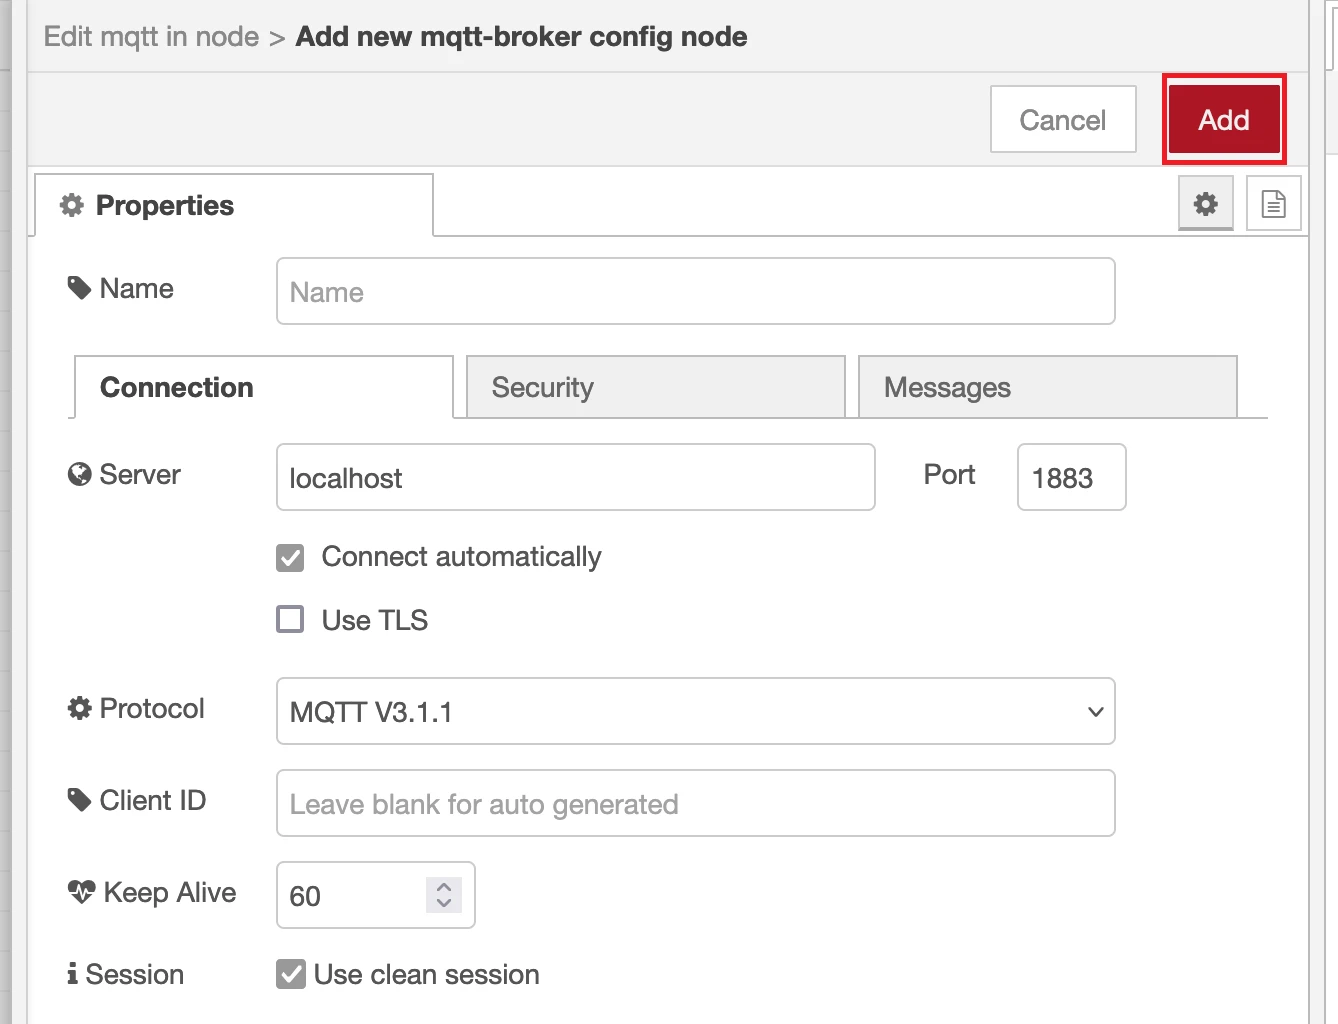
- Double click the selected node and click on next to Add new mqtt-broker... to configure the broker
- Under the Connection tab, type localhost in the Server text field and the configured MQTT port on the TNA Web Server, the default value is 1883
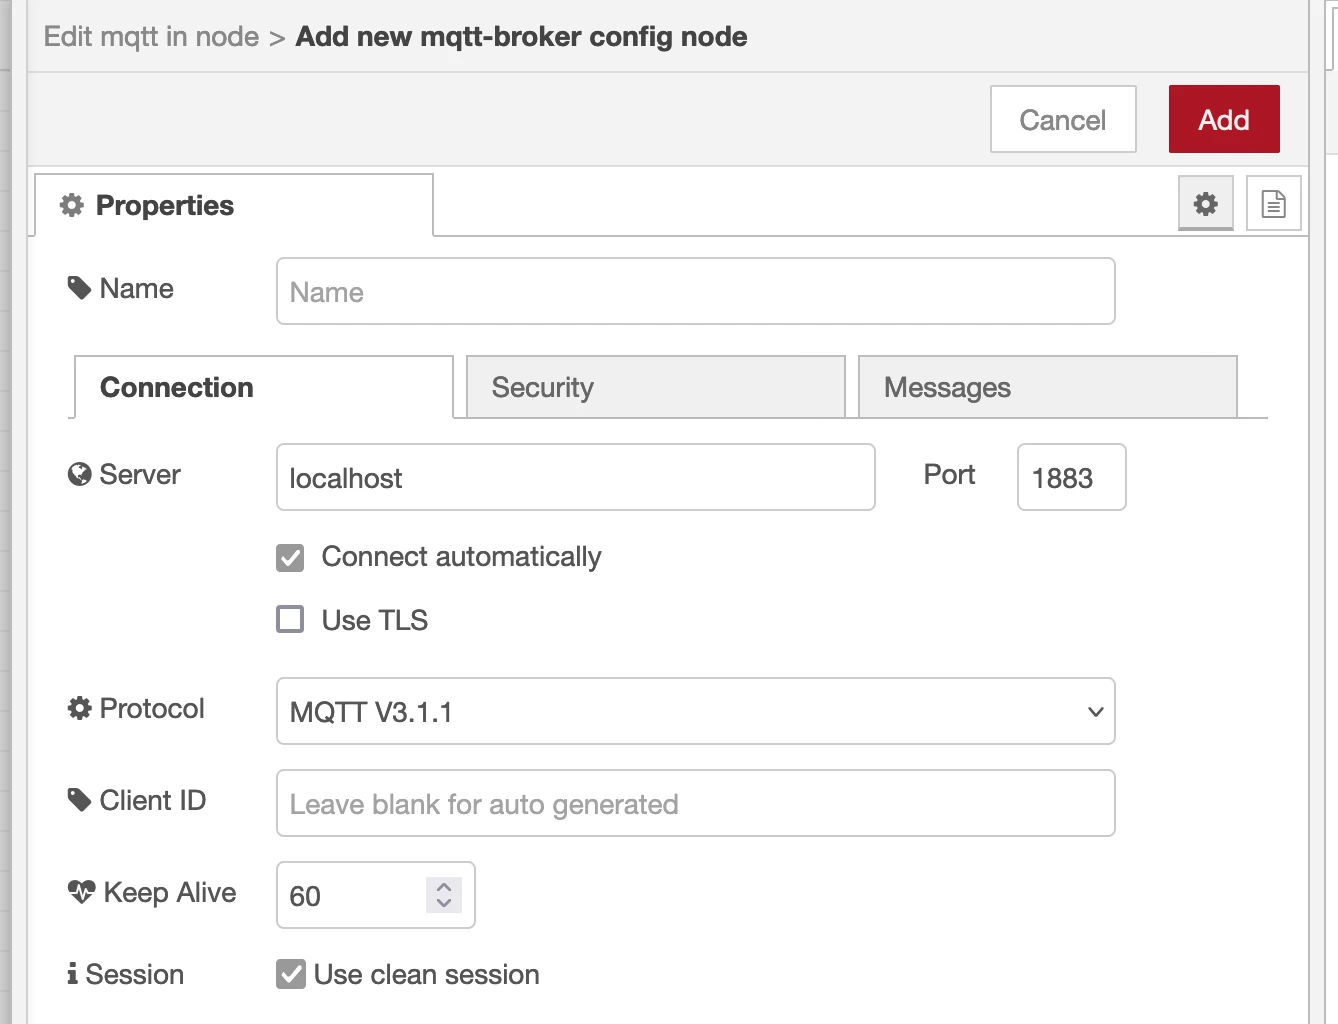
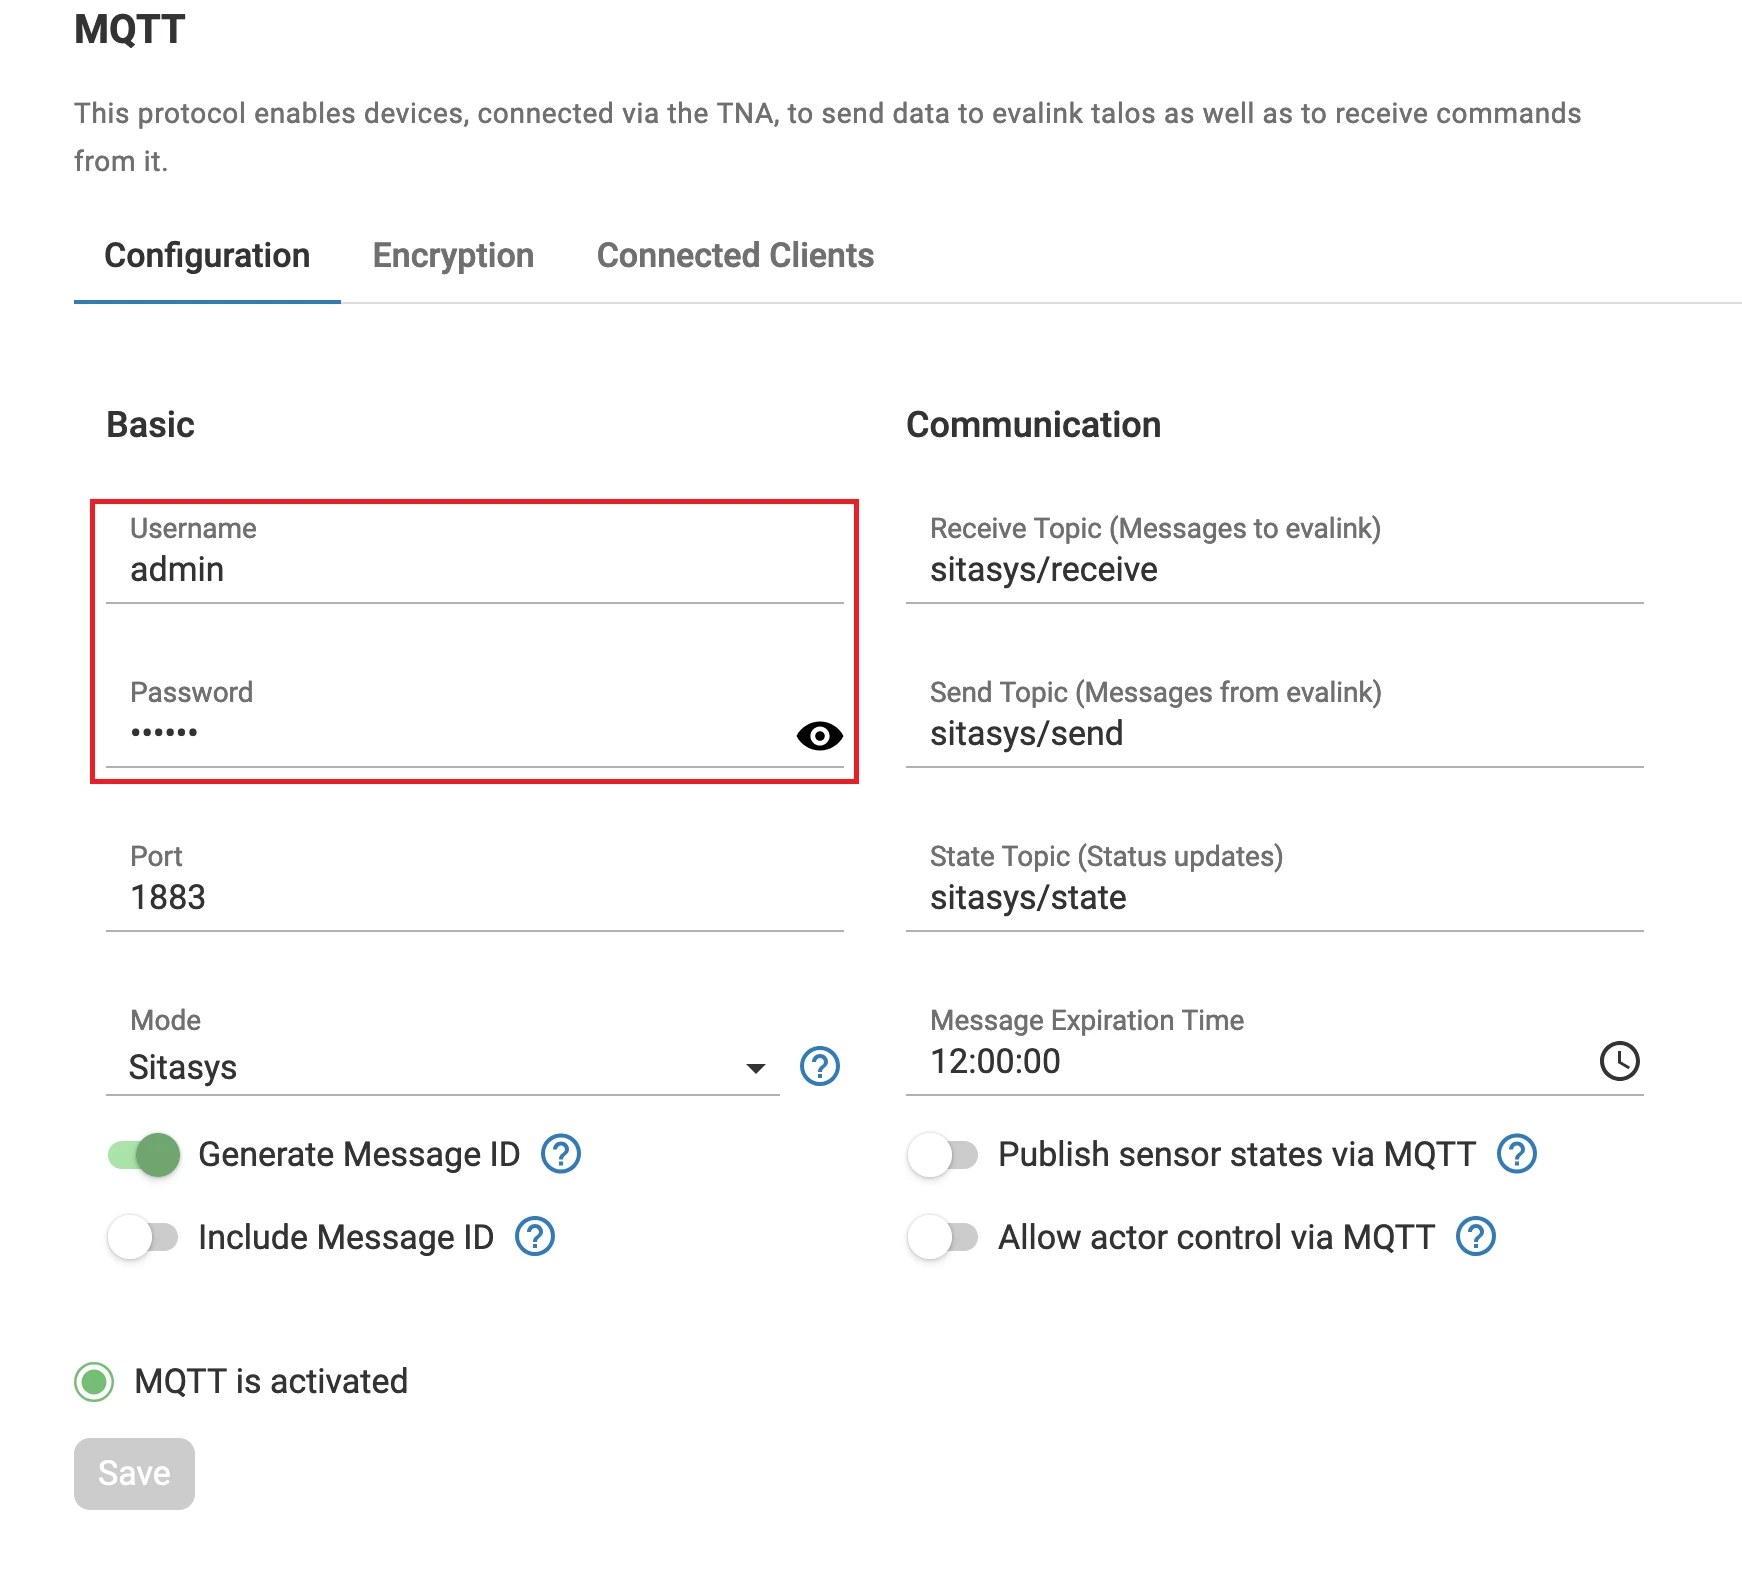
- Under the Security tab, enter the username and password that are configured for MQTT integration on the TNA Web Server
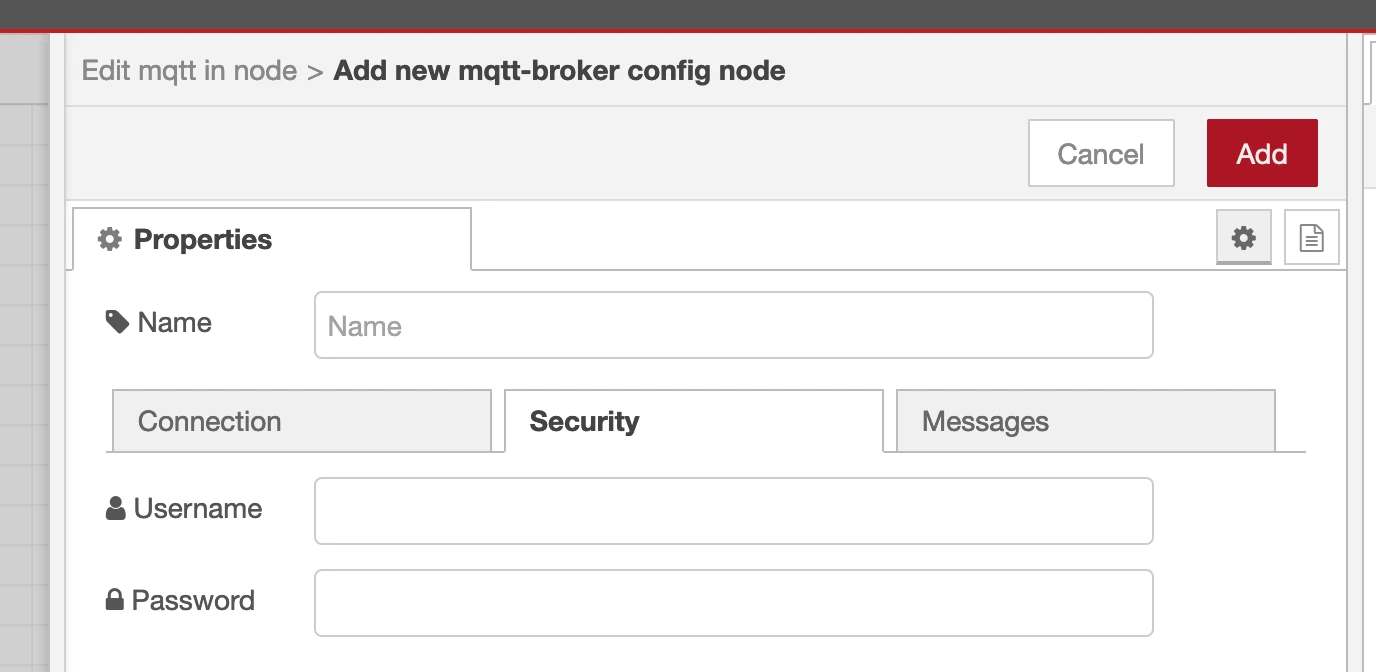
Here are the credentials for MQTT integration in the TNA Web Server
- Click on Add to save the configuration
-
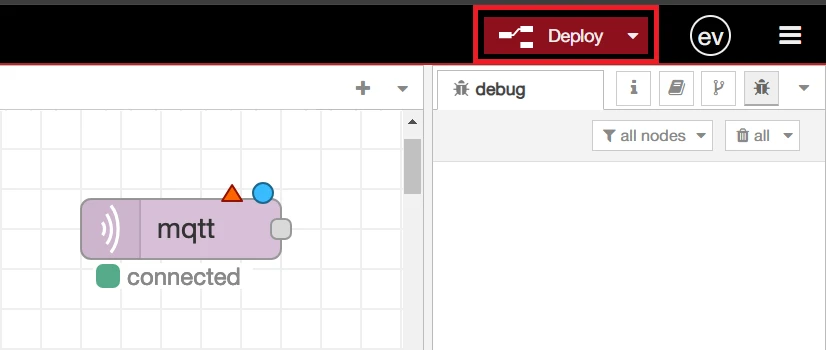
Click on Deploy from the upper right corner of the page
If all the parameters are correct, the state will change to connected in either mqtt in or mqtt out nodes.
Send Data to evalink talos
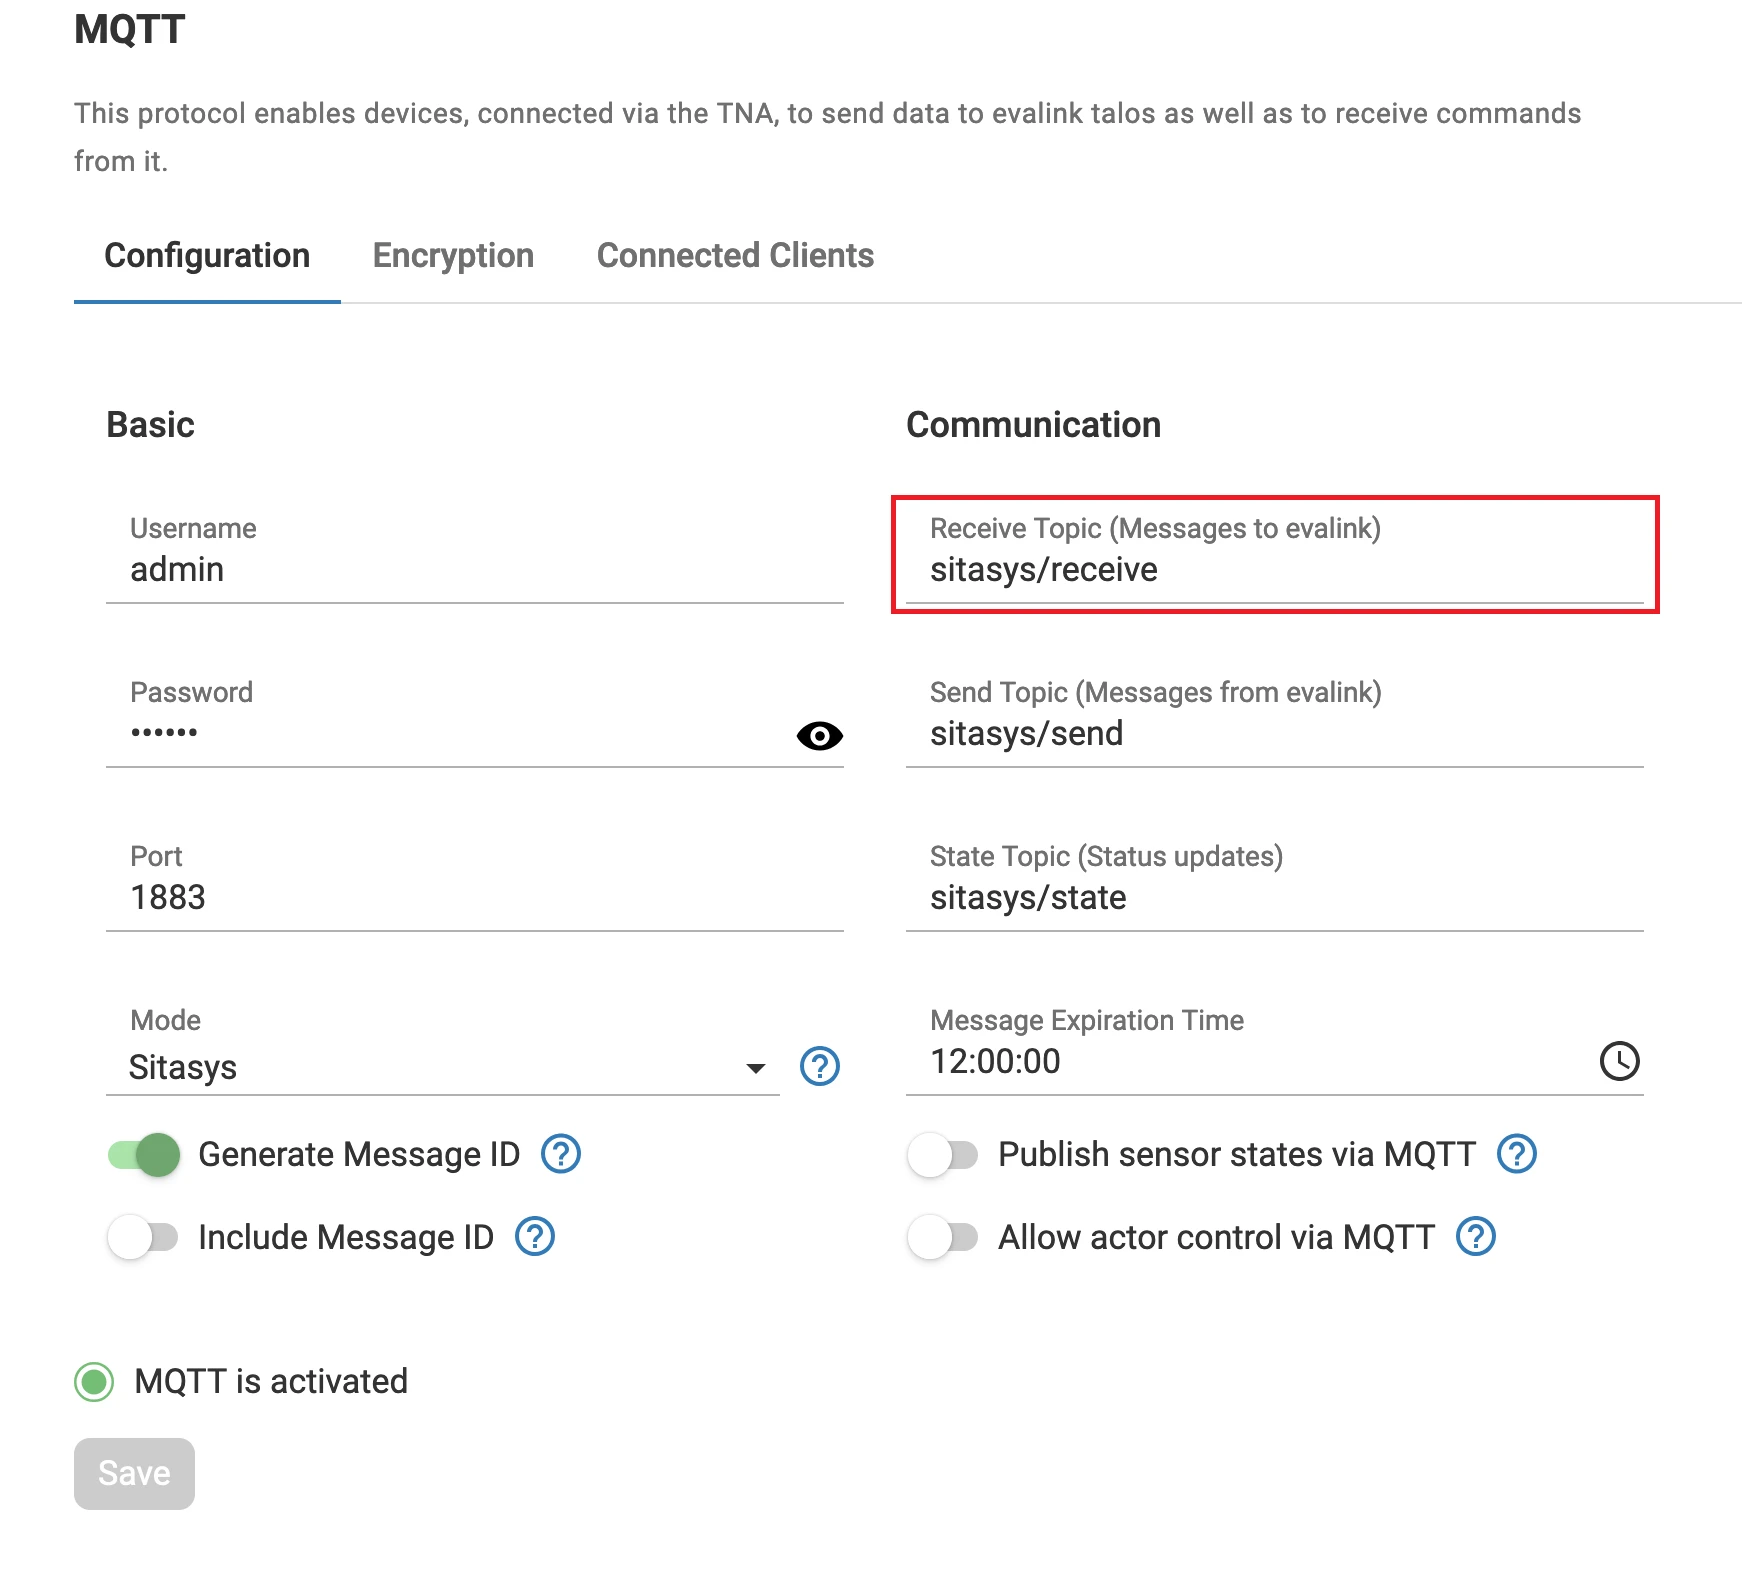
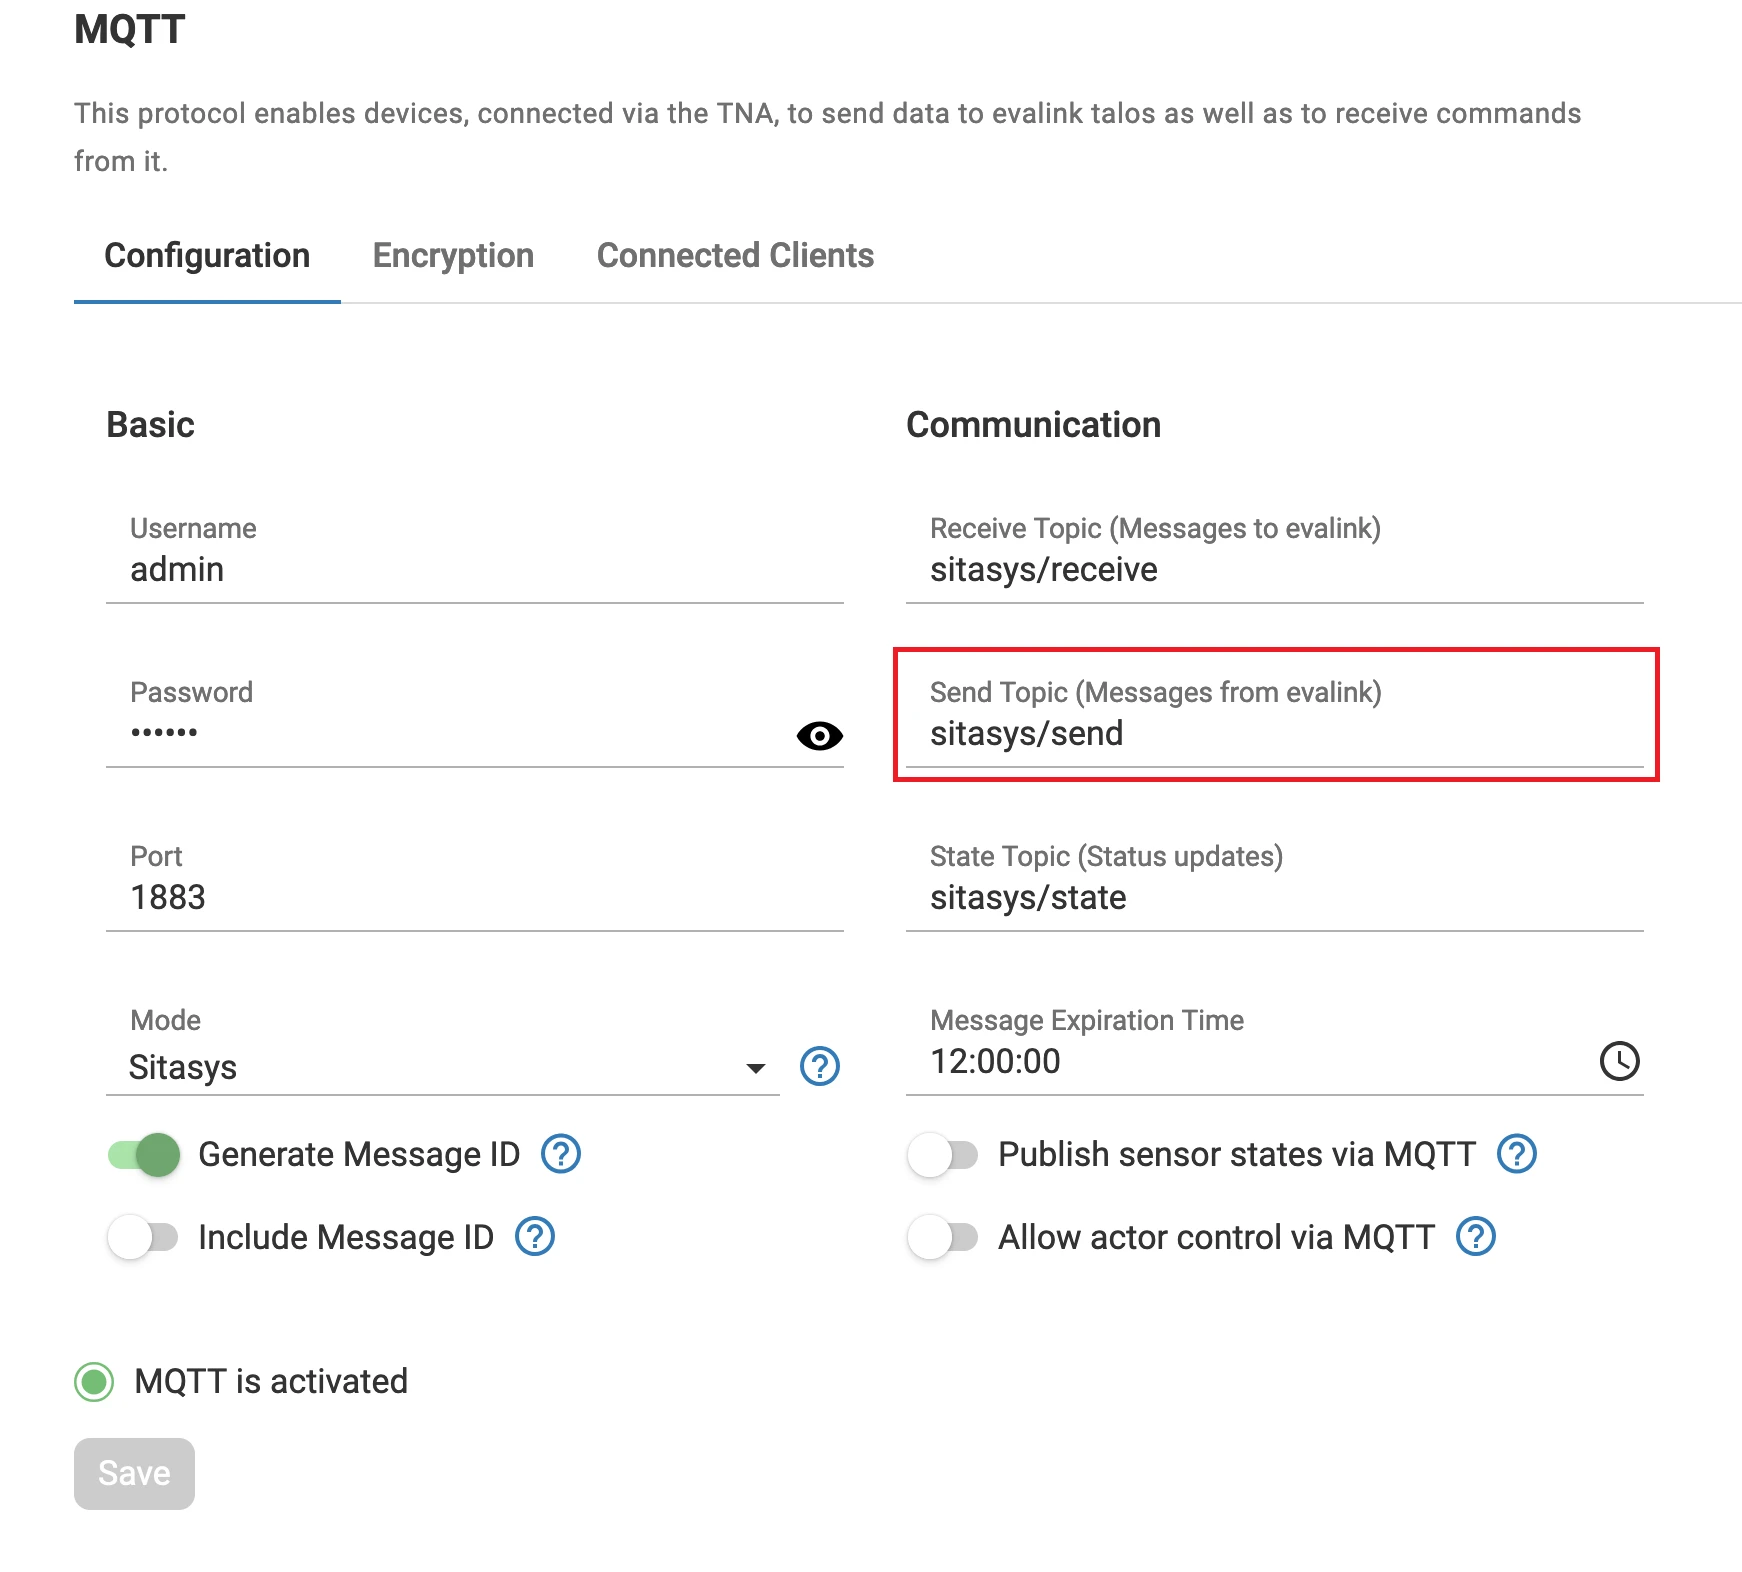
- Double click the mqtt out node and type sitasys/receive or the set value for the Receive Topic parameter in the MQTT configuration on the TNA Web Server
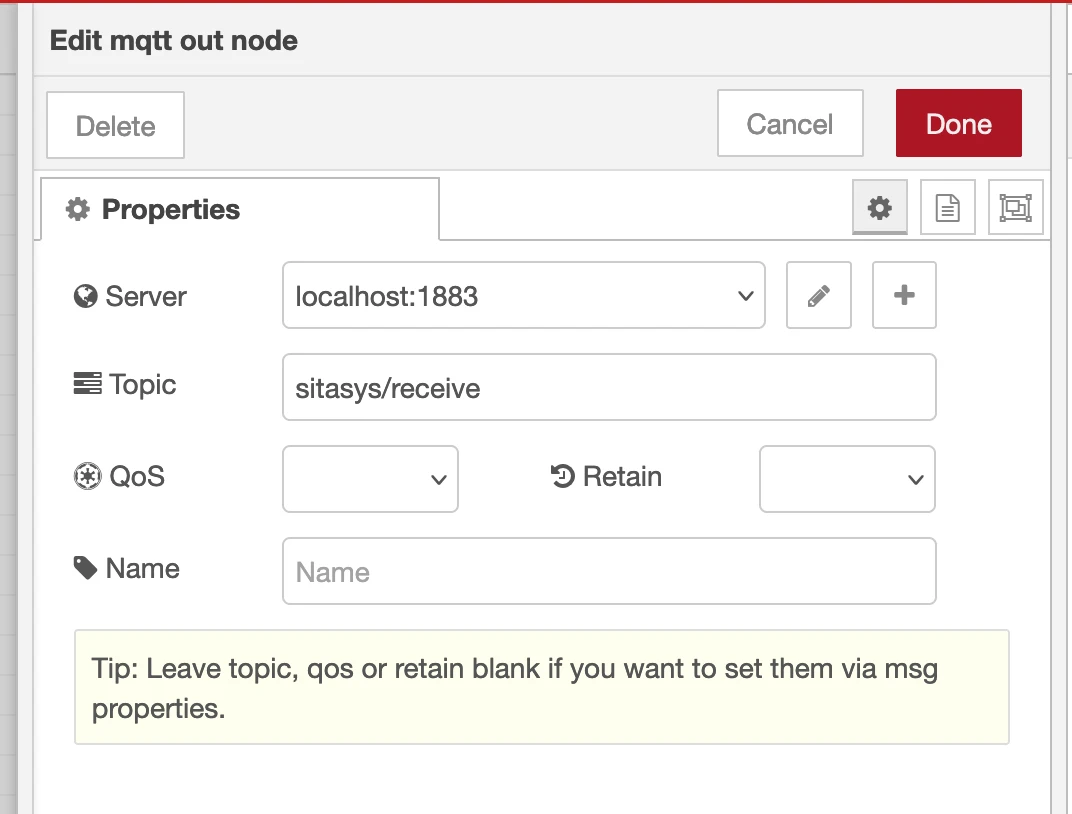
Here is the value for the Receive Topic parameter in the TNA Web Server
-
Choose the Mode in the MQTT configuration depending on your desired result:
Raw: Messages are forwarded like they arrive with no formatting. Make sure Generate Message ID is enabled in the MQTT configuration on the TNA web server.
Sitasys: Messages are formatted for Sur-Gard. An ID must be provided.
-
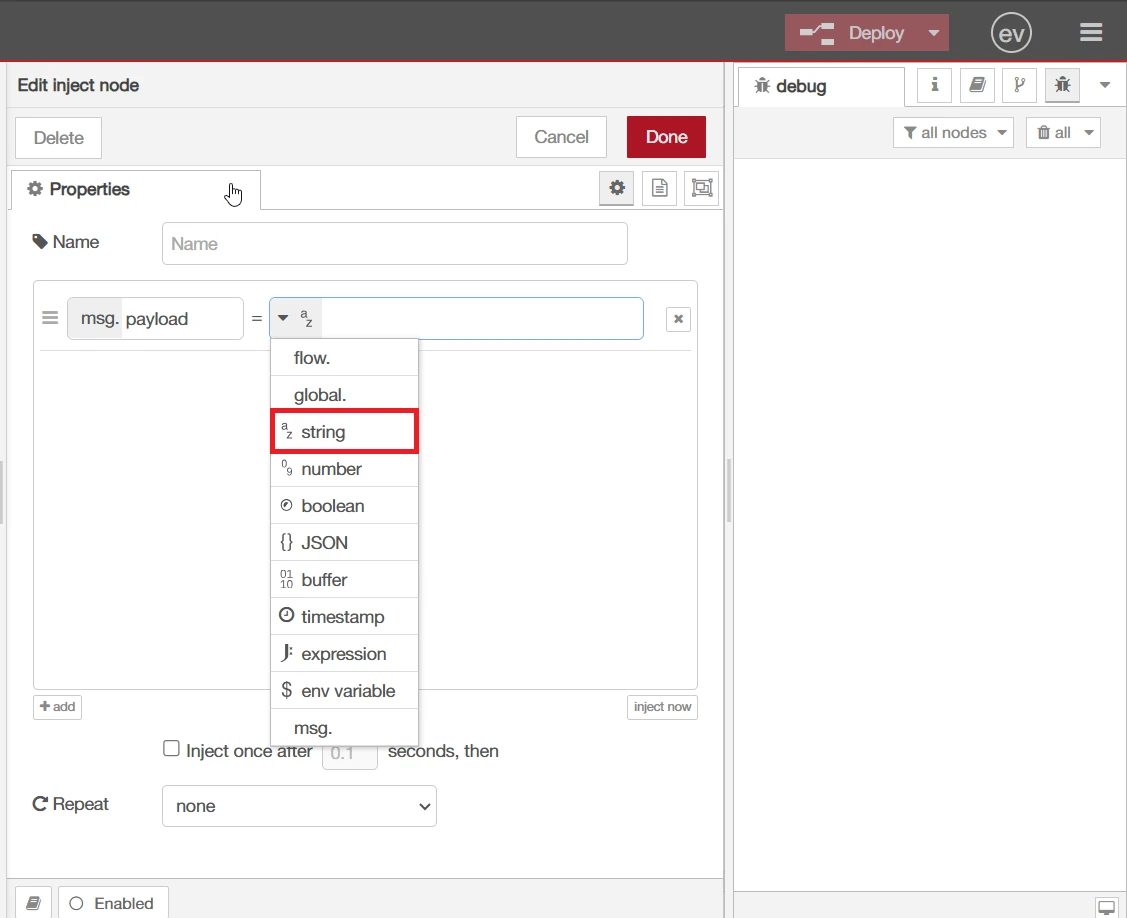
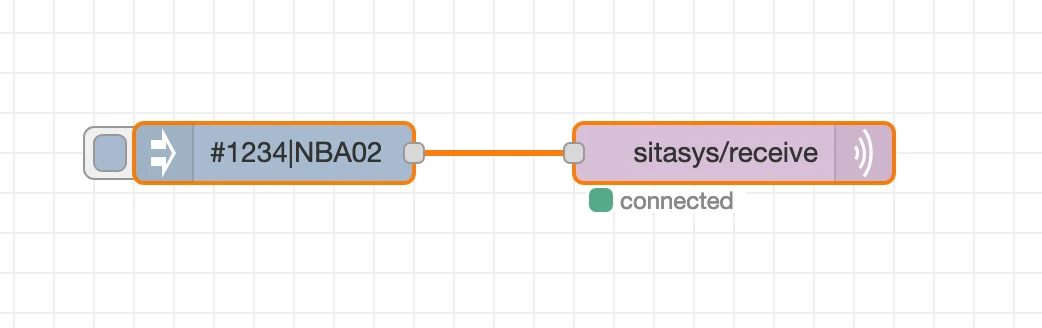
(Optional) To view the different modes in action, you can use the inject node and choose string as the payload type
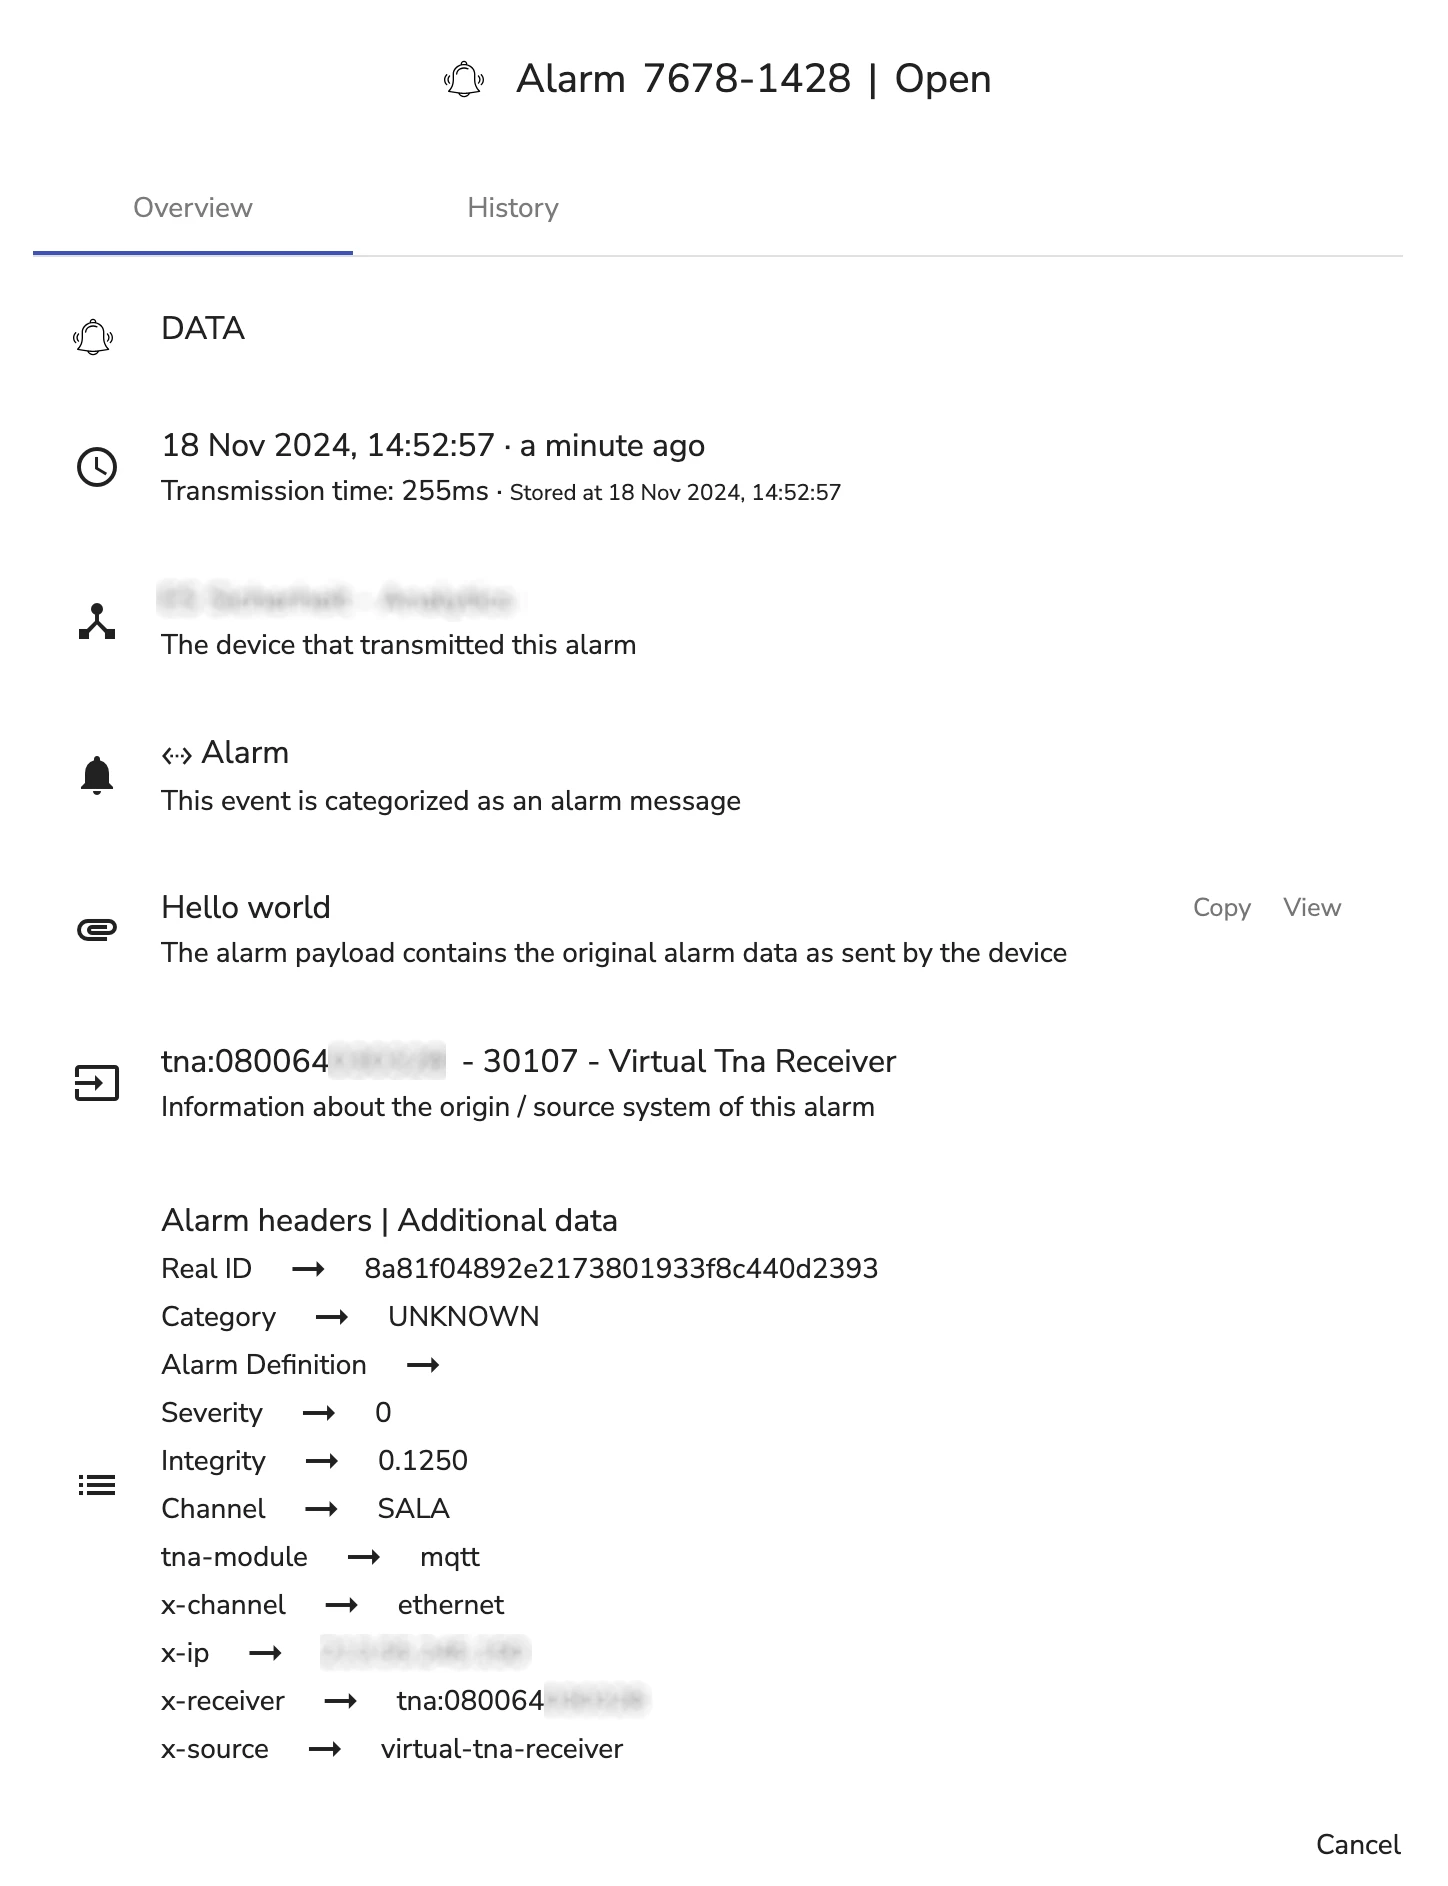
For the Raw mode, type a simple Hello world, click Done, then connect it with the mqtt out node.
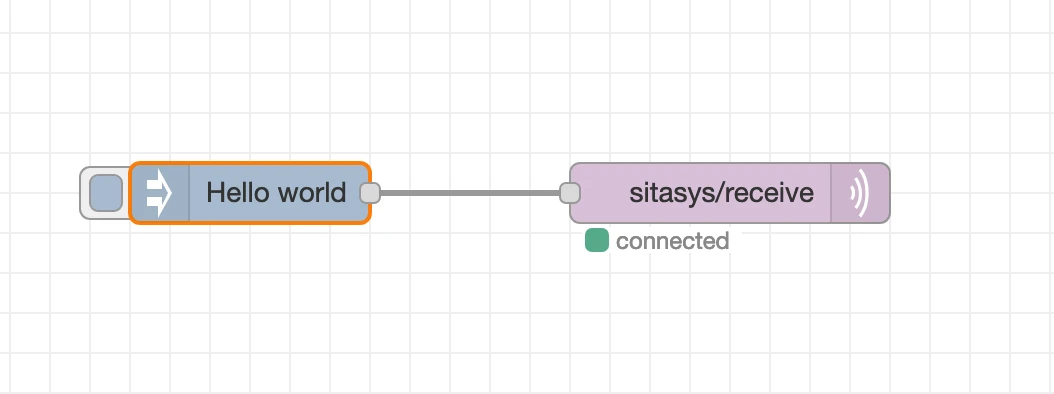
After clicking Deploy, an alarm with the message is triggered in evalink talos.
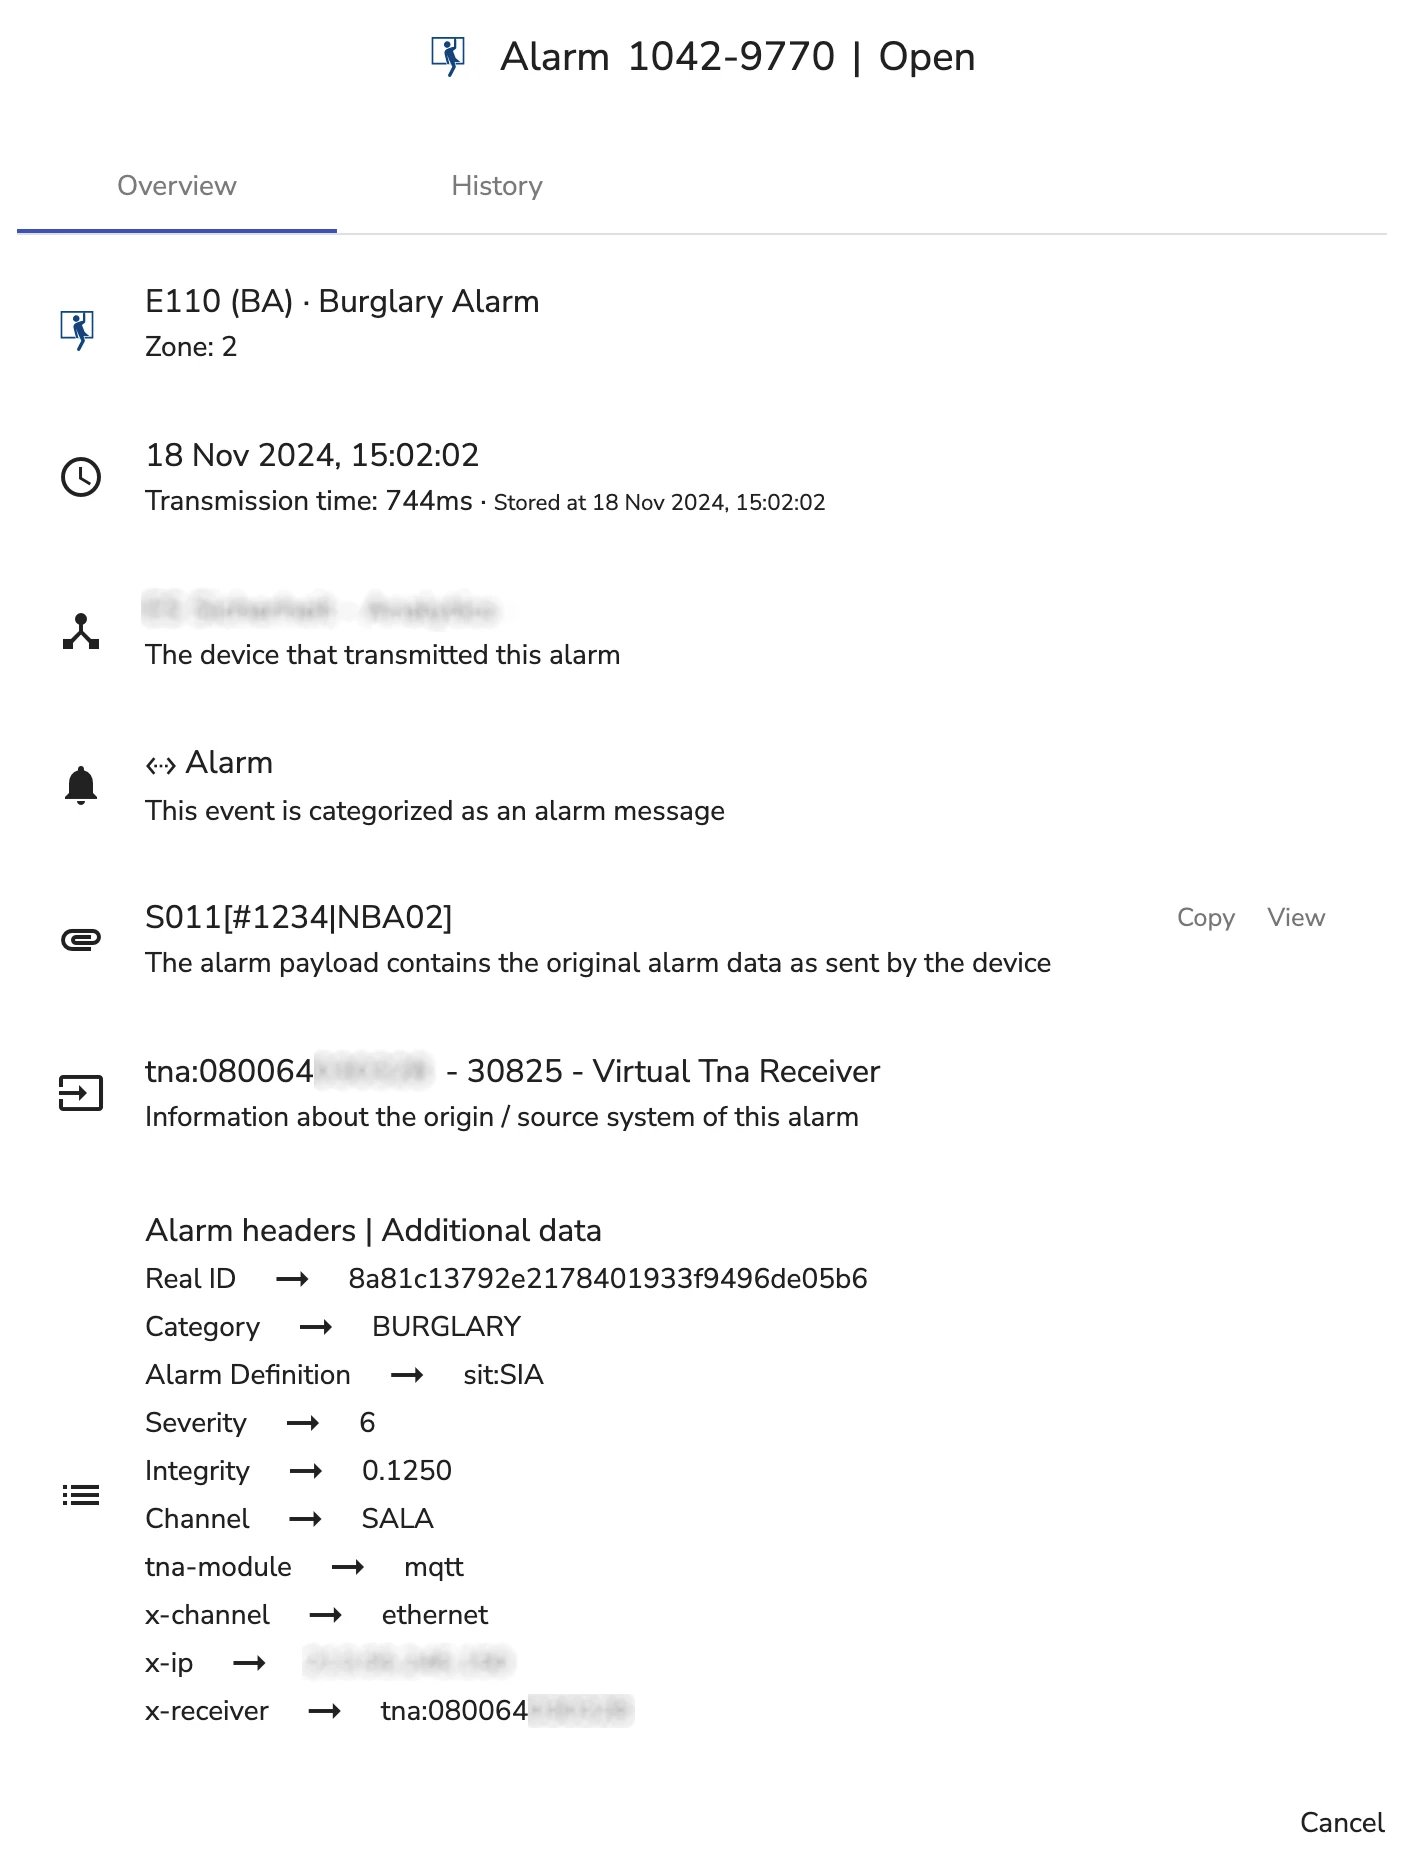
For the Sitasys mode, type #1234[NBA02] click Done, then connect it with the mqtt out node.
After clicking Deploy, a Burglary Alarm with Zone = 02 is triggered in evalink talos.
Receive Data from evalink talos
- Double click the mqtt in node and type sitasys/send or the set value for the Send Topic parameter in the MQTT configuration on the TNA Web Server
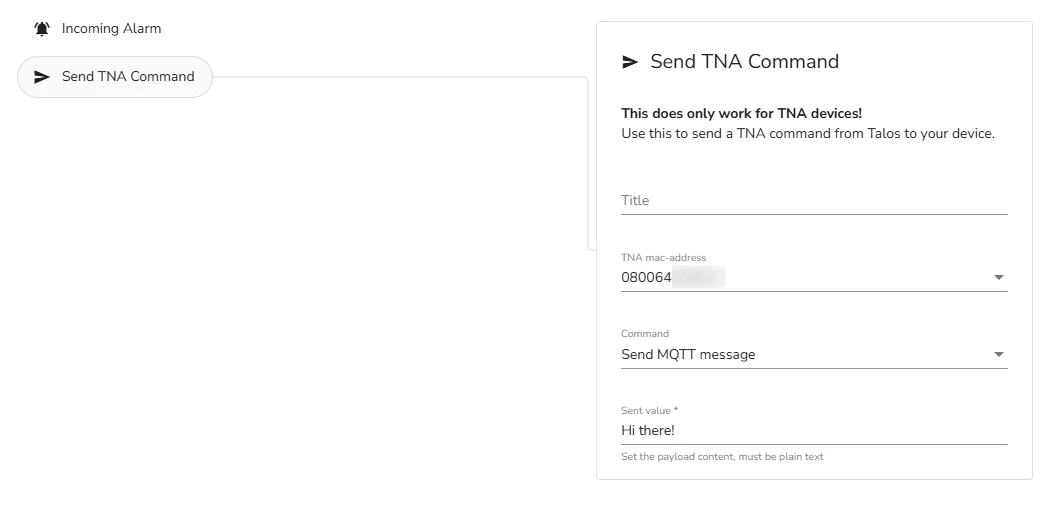
- From your evalink talos account, create a workflow including the Send TNA command step
-
Select your TNA and choose Send MQTT message as the command
-
In the Sent value text field, type a message as the payload
-
Save your workflow
-
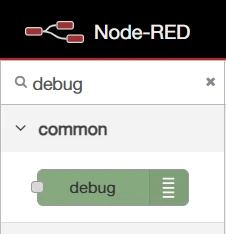
In Node-RED, type debug in the filter nodes from the upper left corner of the page then drag and drop it in your flow
-
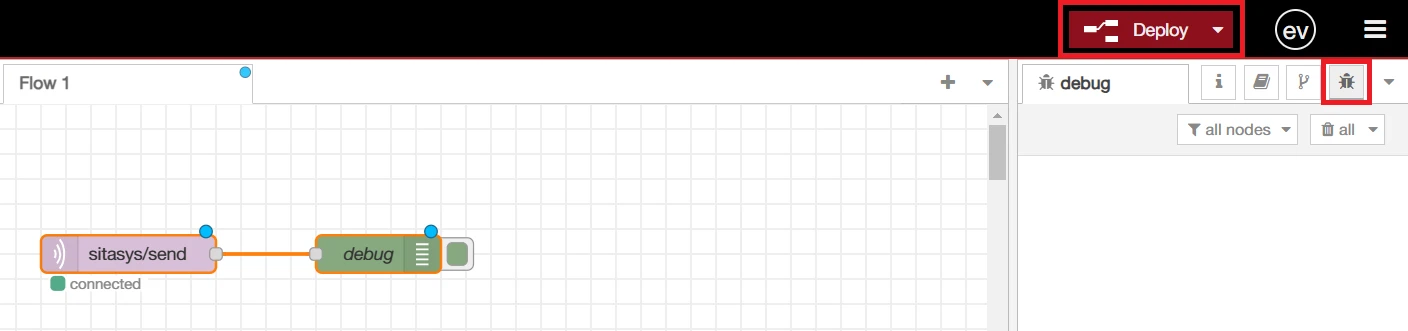
Connect the debug node to the mqtt in node
-
From the the upper left corner of the page, select the debug icon and then click on Deploy
-
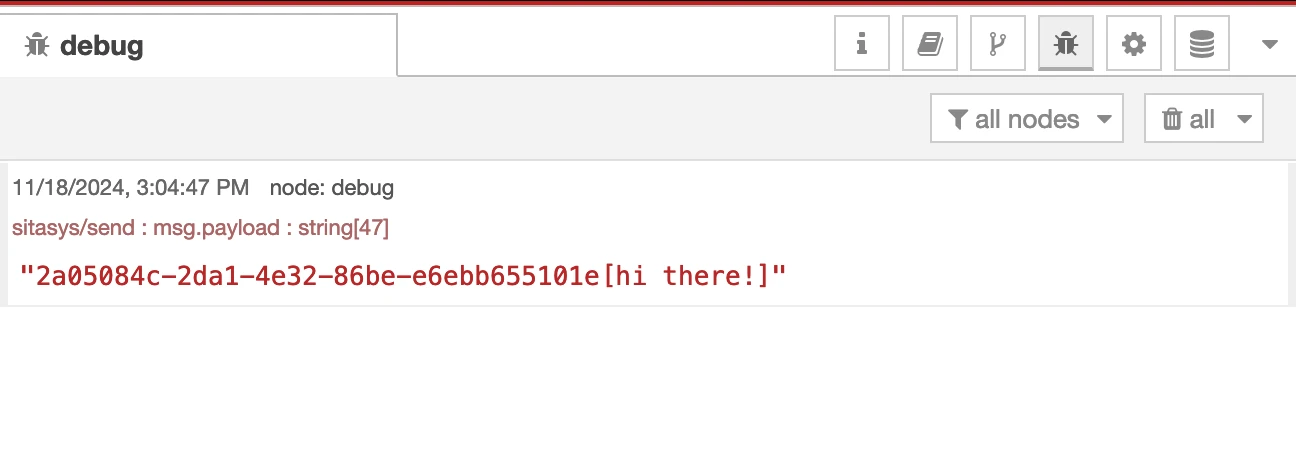
Run the workflow from your evalink talos account
If all the parameters are correct, a message will be displayed within the debug messages window.